

Custom domains are available on Pro plans and above. Upgrade to Pro to unlock this feature.
Domain Options
Kleap Subdomain (Free)
Every published app gets a free URL:Custom Domain (Pro)
Connect your own domain:Setting Up a Custom Domain
Step 1: Get a Domain
You can purchase a domain directly in Kleap (Settings > Domains), or use one you already own from:Step 2: Add Domain in Kleap
- Click Settings in the builder toolbar
- Open Project settings
- Choose Domains under Distribution
- Choose Buy New, Transfer, or Connect Existing
- Enter your domain (e.g.,
myapp.com) - Copy the DNS records shown
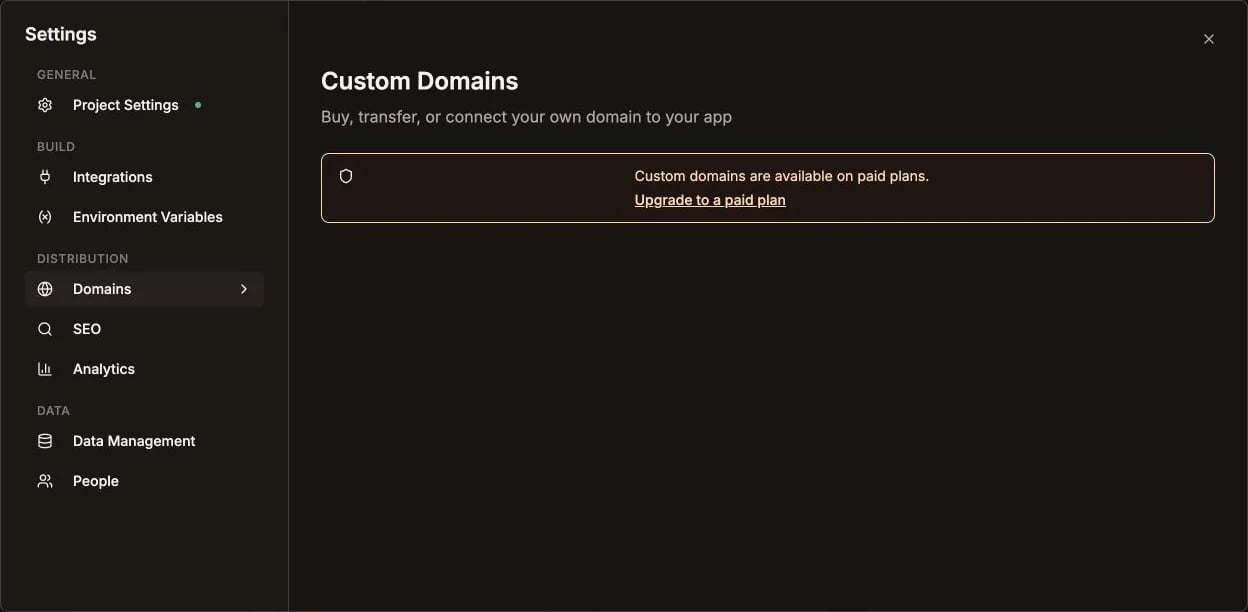
The Domains page is under Distribution in Project settings
Step 3: Configure DNS
Add an A record at your domain registrar pointing to Kleap’s server:- Root Domain (myapp.com)
- Subdomain (app.myapp.com)
Using Cloudflare? Set the proxy status to DNS only (grey cloud icon, not orange). The Cloudflare proxy blocks SSL certificate generation via Let’s Encrypt. See the Cloudflare section below for details.
Step 4: Verify
- Return to Kleap settings
- Kleap automatically checks your DNS every 10 seconds
- Once detected, your SSL certificate is provisioned automatically
DNS changes typically take a few minutes to 48 hours to propagate worldwide.
SSL Certificates
Kleap automatically provisions and renews SSL certificates via Let’s Encrypt:- Free SSL - Included with all custom domains
- Auto-renewal - Certificates renew automatically
- HTTPS enforced - HTTP redirects to HTTPS
Multiple Domains
You can connect multiple domains to one app:myapp.com(primary)www.myapp.com(alias)app.mycompany.com(alias)
Troubleshooting
Domain not verifying
Domain not verifying
- Double-check the A record points to
178.104.71.55 - Wait up to 48 hours for propagation
- Use DNS Checker to verify
- Ensure no conflicting A or CNAME records exist for the same name
SSL certificate not issued
SSL certificate not issued
- DNS must resolve to
178.104.71.55first - If using Cloudflare, make sure proxy is OFF (grey cloud / DNS only)
- Wait 10-15 minutes after DNS propagation
www not working
www not working
Add an A record for
www pointing to 178.104.71.55, same as the root domain.Redirect loop
Redirect loop
- If using Cloudflare, disable the proxy (set to DNS only / grey cloud)
- Make sure you don’t have conflicting CNAME and A records
Domain with Cloudflare
If using Cloudflare as your DNS provider:- Add an A record pointing to
178.104.71.55 - Set proxy status to DNS only (grey cloud icon)
- Wait for the SSL certificate to be issued (usually under 10 minutes)
Removing a Domain
- Go to Settings > Domains
- Click the trash icon next to the domain
- Confirm removal
- Update or remove DNS records at your registrar
Best Practices
Use subdomains for apps
Keep
mycompany.com for your main site, use app.mycompany.com for the Kleap app.Set up www
Add an A record for both
@ and www to cover both variants.Monitor expiration
Set reminders for domain renewal to avoid losing your URL.
Use DNS only on Cloudflare
Keep the grey cloud (DNS only) for reliable SSL certificate provisioning.
Publish Your App First
You need a published app before adding a custom domain.