

What We’re Building
An e-commerce store with:- Product catalog with categories
- Product detail pages
- Shopping cart
- Checkout with Stripe
- Order confirmation
Prerequisites
- Kleap account
- Stripe account (for checkout)
Step 1: Store Your Products
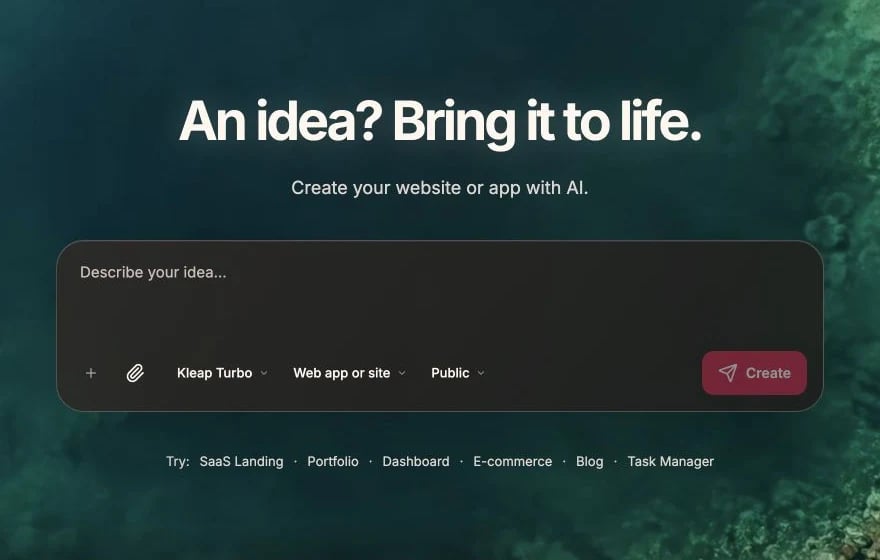
Start the store from a focused product prompt and choose Web app or site
- Static data — hardcode the product list in your site. Simplest, great for a small catalog that rarely changes.
- Kleap Database — a managed database built into Kleap (no separate account). Best when you want to add or edit products without redeploying.
Option: Kleap Database
Add Sample Products
Step 2: Product Catalog
Homepage
Products Page
Product Card
Step 3: Product Detail Page
Image Gallery
Step 4: Shopping Cart
Cart State
Cart Sidebar
Cart Icon
Step 5: Checkout with Stripe
Your store is a static Astro site, so checkout runs on Stripe’s hosted pages. You only ever use your Stripe publishable key — no secret key (sk_...) and no server code live in your site.
Set Up Stripe
- In your Stripe Dashboard, create a Payment Link or Buy Button for each product (or a Pricing Table for a set of products).
- Copy each product’s link or Buy Button embed snippet.
Add Checkout
Stripe Payment Links and Buy Buttons each sell one product (or a fixed bundle). A fully dynamic cart that totals arbitrary items into a single Stripe Checkout Session needs a backend beyond a static site — for that, use a Payment Link per product, a Stripe Pricing Table, or add a small server/serverless function as an advanced step.
Order Confirmation
Step 6: Orders (Optional)
Every order and payment lives in your Stripe Dashboard — view orders, payment status, and customer details there without adding anything to your site. An in-app orders page or admin panel (past orders, status updates, sales stats) needs to read payment data from a backend, which is beyond a static site. Use the Stripe Dashboard for order management, or add a small server/serverless layer as an advanced step.Step 7: Polish
Loading States
Error Handling
Mobile Optimization
Step 8: Launch
Pre-Launch Checklist
- All products display correctly
- Add to cart works
- Cart updates correctly
- Buy buttons open Stripe checkout
- Payment processes successfully
- Order confirmation shows
- Mobile works well
Deploy
- Click Publish
- Test checkout in Stripe test mode
- Switch your Payment Links / Buy Buttons to live mode
- Connect a custom domain
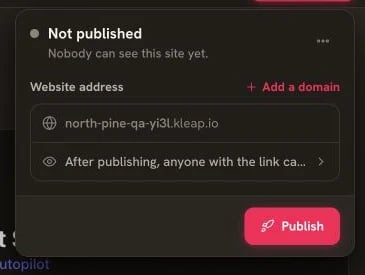
Publish the reviewed store from the English deployment panel
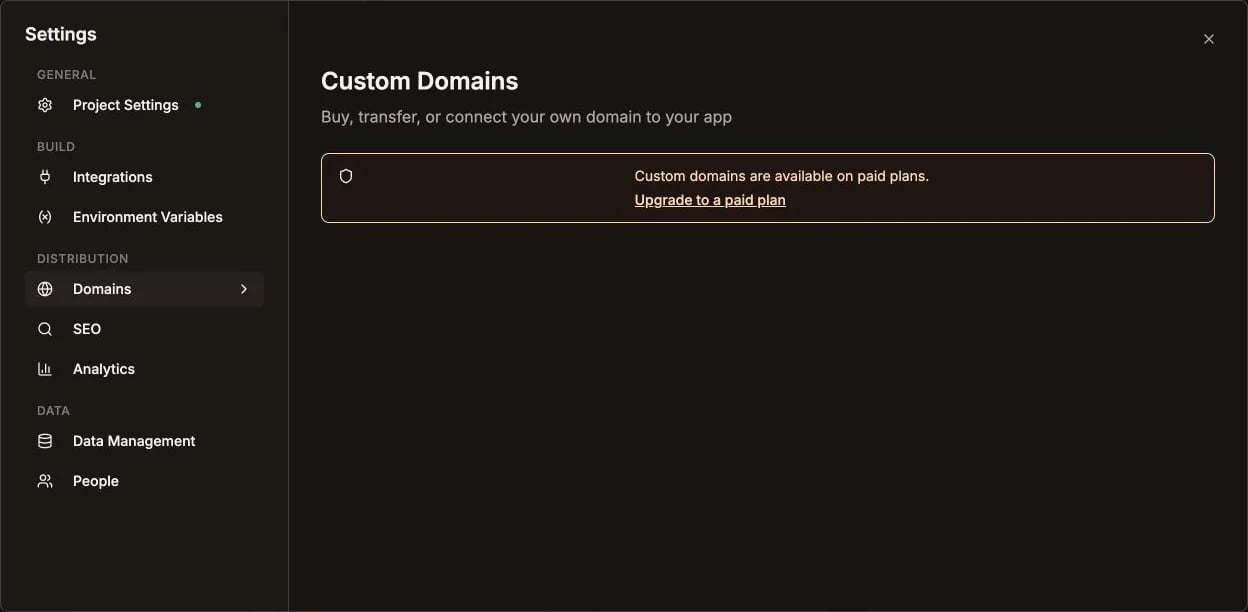
Connect the final domain from Settings > Domains
Enhancements
After launching, consider adding:- User accounts - Save shipping info, order history
- Reviews - Product ratings and reviews
- Wishlists - Save products for later
- Search - Search products by name
- Inventory tracking - Update stock on purchase
- Email notifications - Order confirmation emails
- Discount codes - Coupon system
Complete Prompt Flow
- Database setup
- Homepage with featured products
- Products listing page
- Product detail page
- Shopping cart functionality
- Stripe checkout (Payment Links / Buy Buttons)
- Order confirmation
- Polish and mobile optimization
Stripe Integration
Complete Stripe setup guide