> ## Documentation Index
> Fetch the complete documentation index at: https://docs.kleap.co/llms.txt
> Use this file to discover all available pages before exploring further.
# Getting Started
> Build your first site with Kleap in 5 minutes
Follow these steps to create and publish your first site with Kleap.
## Step 1: Sign Up
Go to [kleap.co](https://kleap.co) and create your account:
1. Click **Get Started**
2. Sign in with **Google**, an email **magic link**, or a **6-digit email code**
3. You'll receive free credits to start building
No credit card required. Start building immediately with your free credits.
## Step 2: Describe Your Site
Tell Kleap what you want to build in the chat box:
```
Create a landing page for a coffee shop with a hero section,
menu with prices, opening hours, and a contact form
```
The AI generates your site from your description — no template picking, no setup. The more specific you are, the closer the first result.
Want ideas? Browse the [showcase](/use-cases/showcase) to see what others have built.
## Step 3: Edit with AI
Once your site is created, continue the conversation to refine it:
```
Add a dark mode toggle to the header
```
```
Change the primary color to blue
```
```
Add a contact form to the footer
```
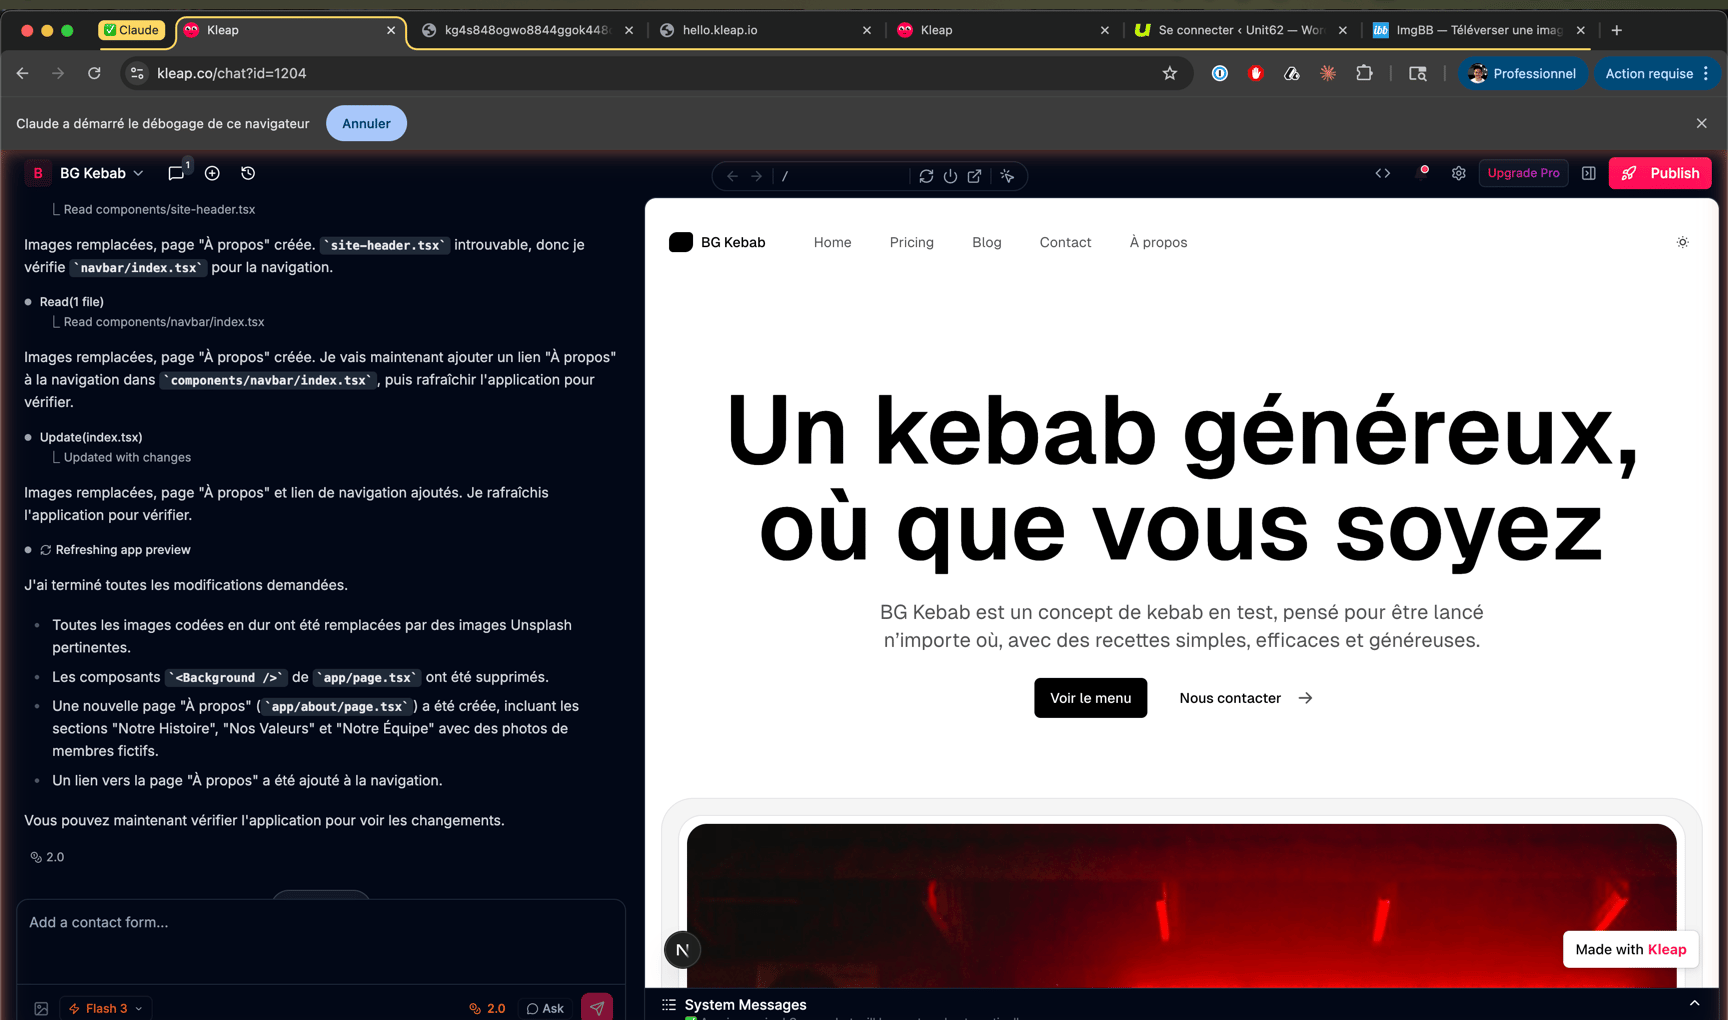
Each change updates your site in real-time in the preview panel.
 Be specific in your requests. Instead of "make it better", try "increase the font size of headings and add more padding between sections".
## Step 4: Preview Your Site
Your site shows in a live preview on the right side of the screen:
* **Real-time updates** as you make changes
* **Mobile responsive** - resize to test different screens
* **Interactive** - click buttons, fill forms, test functionality
The preview is a real build of your site rendered inside the editor. It refreshes automatically after each generation — there's no sandbox to restart and no separate preview URL.
## Step 5: Publish Your Site
Publishing is **automatic** — every time a generation finishes, Kleap deploys your site for you. To publish on demand:
1. Click the **Publish** button in the top bar
2. Wait for the build to complete
3. Your site is live at `your-app.kleap.io`
Hosting is free, on a global edge network with automatic SSL.
## Step 6: Connect a Custom Domain (Optional)
Want your own domain like `myapp.com`?
1. Go to **Settings** > **Domains**
2. Click **Add Domain**
3. Enter your domain name
4. Follow the DNS setup instructions
5. SSL is automatically configured
Buy a domain right inside Kleap, or bring one from any registrar. Root domains connect with an **A record** (never a CNAME); if your DNS is on Cloudflare, set the record to **DNS only**.
## What's Next?
Master prompting for better results
See the kinds of sites Kleap creates
Turn on Kleap Database — a managed database and user accounts, built in
Version control your code
Be specific in your requests. Instead of "make it better", try "increase the font size of headings and add more padding between sections".
## Step 4: Preview Your Site
Your site shows in a live preview on the right side of the screen:
* **Real-time updates** as you make changes
* **Mobile responsive** - resize to test different screens
* **Interactive** - click buttons, fill forms, test functionality
The preview is a real build of your site rendered inside the editor. It refreshes automatically after each generation — there's no sandbox to restart and no separate preview URL.
## Step 5: Publish Your Site
Publishing is **automatic** — every time a generation finishes, Kleap deploys your site for you. To publish on demand:
1. Click the **Publish** button in the top bar
2. Wait for the build to complete
3. Your site is live at `your-app.kleap.io`
Hosting is free, on a global edge network with automatic SSL.
## Step 6: Connect a Custom Domain (Optional)
Want your own domain like `myapp.com`?
1. Go to **Settings** > **Domains**
2. Click **Add Domain**
3. Enter your domain name
4. Follow the DNS setup instructions
5. SSL is automatically configured
Buy a domain right inside Kleap, or bring one from any registrar. Root domains connect with an **A record** (never a CNAME); if your DNS is on Cloudflare, set the record to **DNS only**.
## What's Next?
Master prompting for better results
See the kinds of sites Kleap creates
Turn on Kleap Database — a managed database and user accounts, built in
Version control your code